Introduction
AWS Systems Manger can be used to perform many administration tasks. One of its functionalitis is Linux system patching. The decision if a packet should be updated is based on assotiated patch baselines. Curently AWS has defined default baselines for Windows, Amazon Linux, RedHat and Ubuntu. Bellow I will show how to create/configure the nedded resources to start a patching session and verify the patch complience status of a Linux instance.
Preparing rights
The instance that will be patched needs to be a part of a role that will allow the ssm agent running on the instance to communicate with AWS infrastructure. Following steps will create the needed role:
- In the AWS console go to IAM->Roles and click on “Create Role”
- Select EC2 Role fro Simple Systems Manager
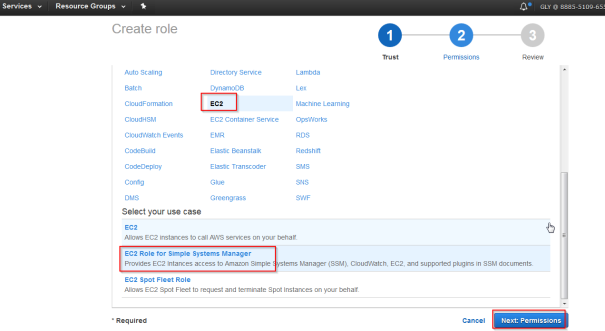
- Click on “Next: Review”
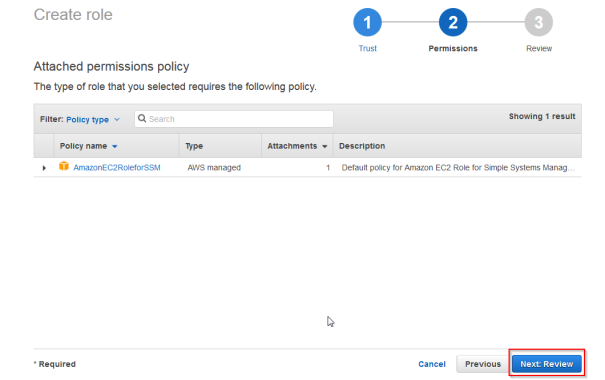
- Chose a name for example “SSMManaged” and click on “Create Role”
In this post I will show how to start the patching process manualy from the console. To do so the user that will initiate the patching and verify the results will need some specyfic permissions. In this case i will go with AmazonSSMFullAccess
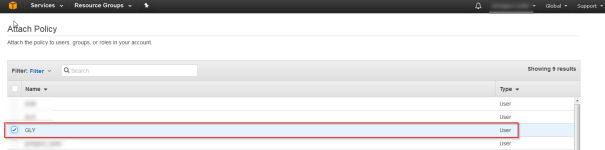
- Go to IAM -> Policies and in the fileter for “AmazonSSMFullAccess”
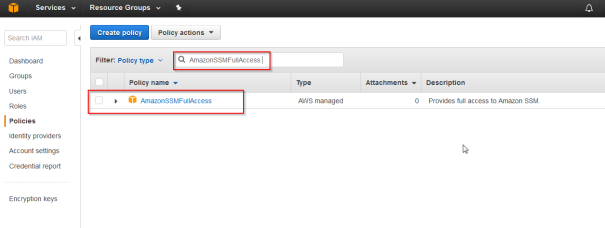
- Mark the role and Form the policy actions chose Attach

- Chose the user that you are using
This will cover all the rights that will be nedded for the example.
Preparing the instance
As already mentioned the instnace should be running on one of the supported operating systems. For the test I will create an Amazon Linux instance. Additinaly 2 conditions have to be met:
- The instance has to be part of the created SSMManaged Role
- An SSM service has to be running
No I will create an Amazon linux instance with the SSMManaged Role.
- Go to EC2->Instances and click on “Launch Instance”
- Choose a Amazon Linux AMI – I took an older image

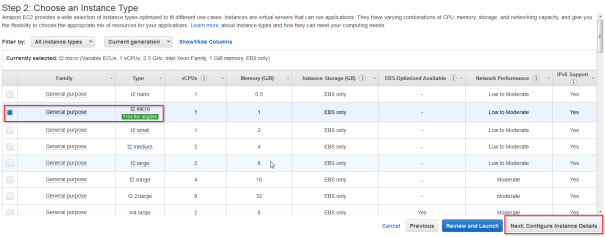
- Choose instance type – Any is ok but due to cost limitation I took t2.micro
- On the next screen choose SSMManaged Role

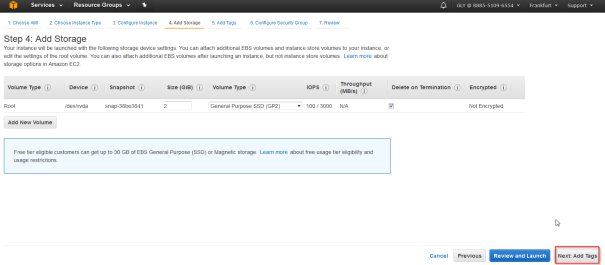
- The storage has no influance so click next
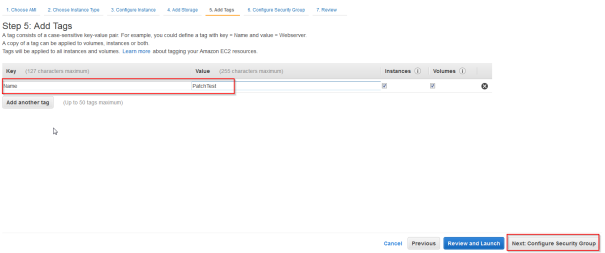
- Create and set a Name tag for example as “PatchTest”
- Chose a Security group that will allow ssh access to the instance
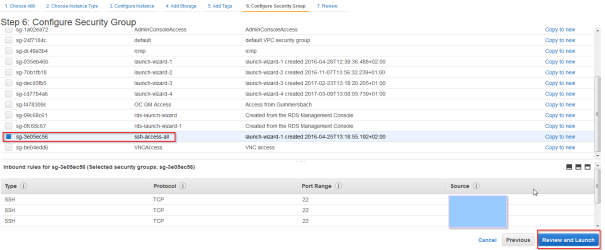
- Click “Review and Launch”
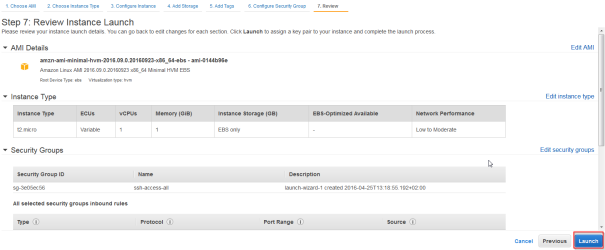
- Generate a ssh key that will allow you access to the instnance and Launch Instances

Although I showed how to create the instance, already existing instance can be used as long it is running on supported operating system. To use such an instance it has to be assigned to the SSMManaged Role.
After the instance is launched install the SSM agent on the operating system. To do so login the the instance via ssh and execute folowing commands:
cd /tmp
sudo yum install -y https://s3.amazonaws.com/ec2-downloads-windows/SSMAgent/latest/linux_amd64/amazon-ssm-agent.rpm
sudo status amazon-ssm-agent
The status command should show that amazon-ssm-agent is running.
Checking system compliance and patching the instance
To verify the patch complience a system scan has to be performed:
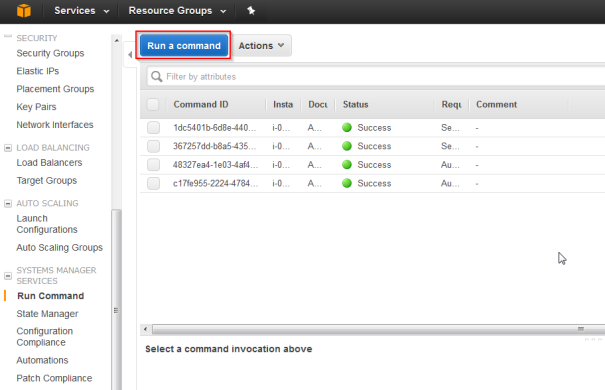
- Go To EC2->Run Command and click “Run Command”
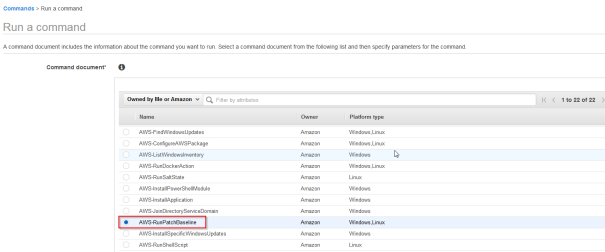
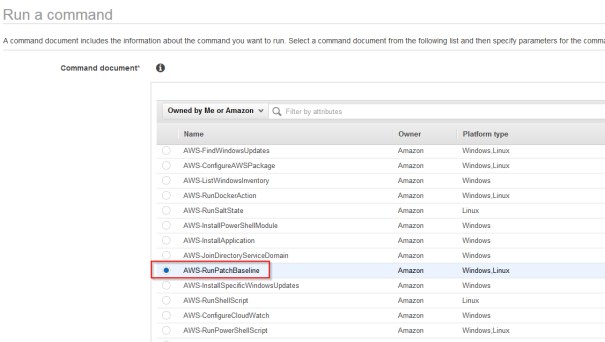
- Chose AWS-RunPatchBaseline and scrol down
- Chose the instance id and as operation Scan
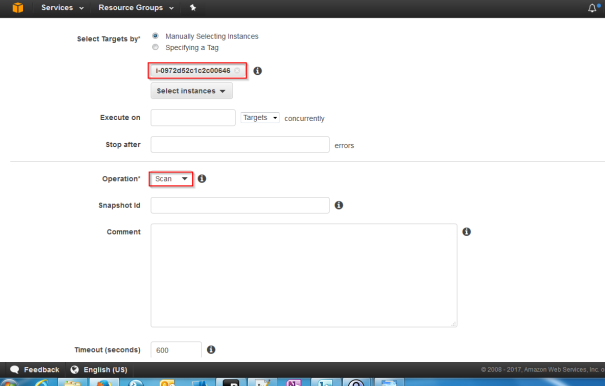
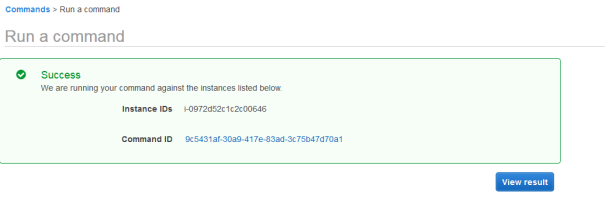
- Click Run and verify the results
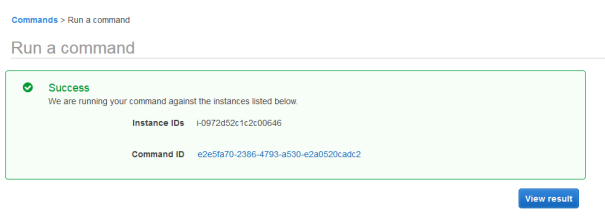
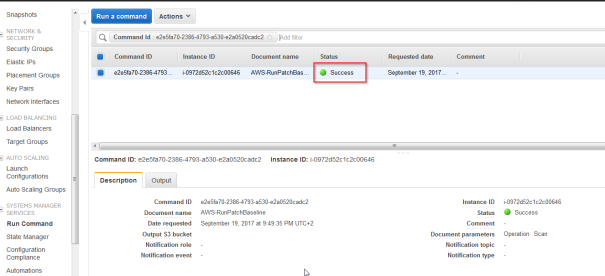
- Verif that the scan executed sucessfuly
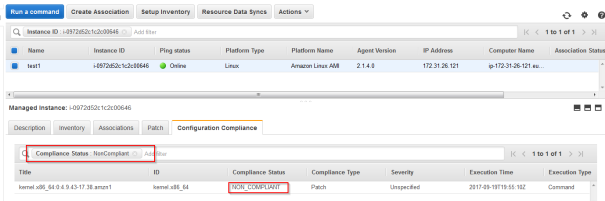
- Now go to to “Patch Complience” To verify if there are any updates for the instance. It should show that the instance is missing updates.
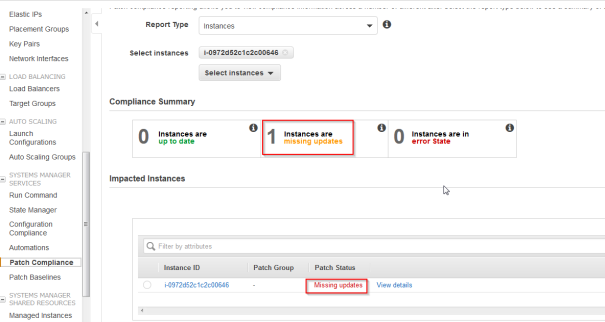
When exploring the details, the non compliante packet will probably be the kernel package:
Now simalary to the scan operation a patching operation can be started:
- Go To EC2->Run Command and click “Run Command”
- Chose AWS-RunPatchBaseline and scrole down
- Specify the instance and as operation choose Install
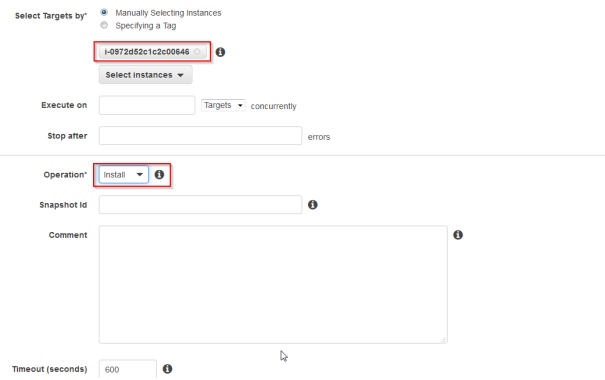
- Run the command ( This will reboot the instance ) and check if it was executed succesfuly
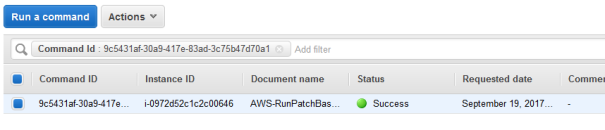
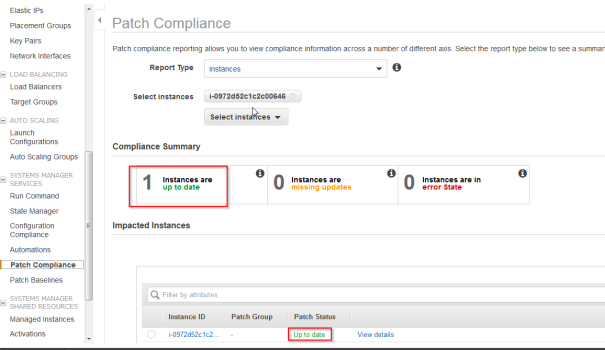
To verify if everything worked let’s check the Patch Compliance view:
Summary
SSM is a tool that among other things allows easily updates of instances based on Patch Baselines defined in AWS. After initial configuration the entire process is easy and quick. The Patch complience view in AWS console provides a quick overview of the entire enviroment. The entire system can be additionaly expanded with maintance windows, tag’s and custom configurations of Patch baselines allowing automatic patch appliance and monitoring of complex enviroments.